After sewing these cute bibs for a friend of mine who is a new mum-to-be I thought it would be nice to make a coordinating travel wipes and diaper pouch. Since I don't have a baby myself it's hard to work out what would be a practical present (that's also cute and gender neutral!), but I figured making a little pouch with enough room for a set of travel baby wipes, some powder or lotion and a few diapers would probably come in handy.
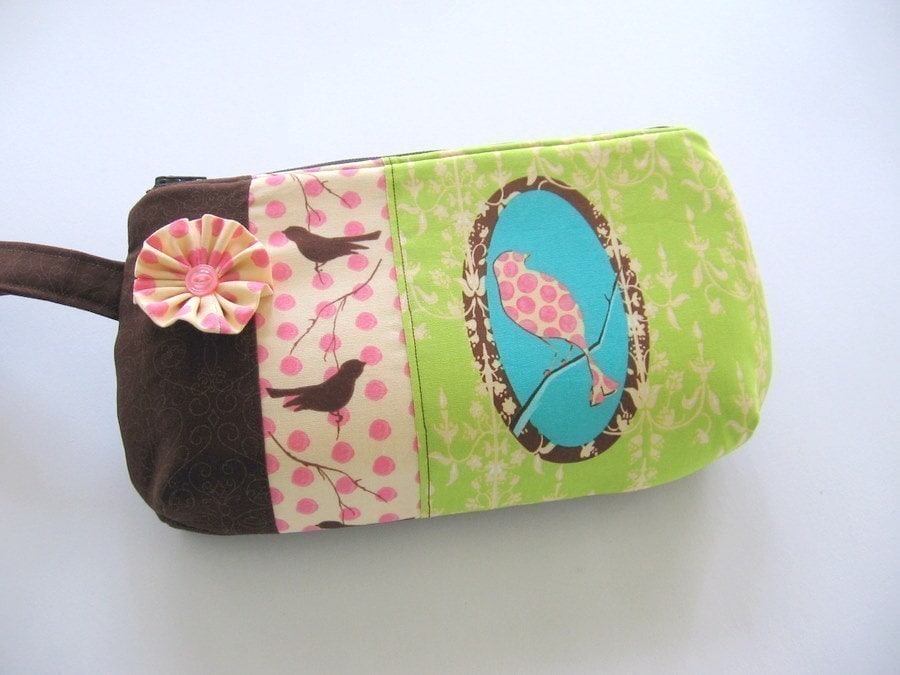
Here's a picture of the final result:
It matches this bib I made and I'm giving it to my friend as a little set as part of her gifts for her baby shower.
I don't have a detailed tutorial for this one, but here are some instructions and a few pics to help you on your way if you'd like to have a go too.
Materials:
- fabric for outside, flap and strap (focus fabric)
- fabric for lining and flap
- interfacing
- hook and loop tape
Here is a picture of all the parts you will be cutting and sewing: outside body, lining, flap, strap and pocket.
Step One: Cut out your fabric pieces
Cut out two rectangles about 11 inches x 14 inches (27.5cm x 35cm) for the body of the pouch in the focus fabric, lining and interfacing.
Fuse the interfacing to the main fabric pieces to give it some body.
I made a little pocket for the lining piece by folding a rectangle about 8" x 5" (20cm x 12cm) in half wrong sides together. Stitch around all 3 sides leaving a gap to turn it the right way. Press and stitch onto the right side of the lining piece near the top.
 |
| make a pocket and stitch to lining piece |
For the flap, I just used the same width (11 inches) and added the height based on what I thought would look ok (about 6inches/15cm) Next time, I'll make the width slightly narrower (maybe 10 inches) as the flap piece was a little wide in the end and bunched up a bit while sewing. (The trial and error nature in which I operate has its pitfalls sometimes!)
Cut a focus fabric piece, interfacing and lining piece of the flap. I curved one edge tracing around a jar and fused the interfacing to the focus fabric piece.
Step two: Stitch the flap and make a strap
On the right side of the lining piece of the flap, stitch a strip of hook and loop tape 1.5 inches from the curved bottom in the middle. (stitch the rough side of the hook and loop tape to this piece)
With right sides facing, stitch the focus fabric piece and lining piece together around the curved edge leaving the top open.
After turning it the right way and pressing, top stitch around the curved edge for some extra detail.
 |
| flap front |
 |
| flap back |
At this point I thought it would be a good idea to include a strap for easy carrying.
To make a strap, cut a piece of focus fabric 2.5 (about 6.5 cms) inches wide x 12 inches (30cm).
Fold the strip in half with the long edges together. Press.
Un-fold the strip and fold each long edge to meet in the middle (on the line you have just pressed) Press again.
Fold the strip in half long ways again and press. You can now top stitch along each long end to secure your strap. Done! (Use this technique on purses to turn them into wristlets)
 |
| make a strap |
Step three: Sew your body and lining pieces together
Place one focus fabric piece right side up on the table in front of you. Fold your strap piece in half and pin to one side of your fabric about an inch and a half (3.5cm) from the top.
 |
| pin strap to focus fabric piece |
Place the other focus fabric right side down on top of the first piece. Pin around two long edges and one short edge and sew, trapping the strap in between. (You can see it poking out of the left side on the picture below)
 |
| pin focus fabric pieces right sides together and sew around three edges |
Turn right side out and press.
Put your lining pieces right sides together and pin around two long sides and one short side, leaving a gap in the middle of the short piece to turn the whole thing out the right way. Sew around all three sides leaving the gap you created. turn and press nicely. (no pic for this step)
Step four: Assemble and stitch together!
Work out which side of the focus fabric will be the front and back.
Take your flap piece and pin it to the top of the back of your focus fabric piece, right sides together. (keep your pins low so they don't get in the way of you sewing the top.
At this point you might like to stitch the flap in place, however you don't need to as it will be sewn in place when you attach the bag to the lining.
 |
| pin flap to back of focus piece, right sides together |
Here is the interesting part.
Turn your lining piece inside out.
Place the focus fabric piece (right side out) inside the lining piece. make sure you match up the back of the focus fabric piece with the lining piece with the pocket on it, so the pocket ends up sitting at the back of the pouch.
 |
| put the focus piece inside the lining piece which is inside out |
Line up the seams and the top edge. Pin around the top of the pouch. (but don't pin it together or you will seal the bag!)
Stitch around the top of the pouch carefully. You will trap the flap piece between the lining and outside piece in this step too. I sewed around the top twice to make it stronger.
Using the gap in the lining you created, pull the focus fabric piece through the gap until you have turned it the right side out.
Remove the pins, slip stitch the gap closed and give the whole thing a nice press.
fold your flap down and mark the place for the other piece of hook and loop tape. Stitch the tape into place to close.
Done!
 |
| finished, huzzah! |
To illustrate its usefulness, you could fill the pouch with a set of travel wipes, diapers and some powder or lotion and give it to your special mum-to-be as a gift at a baby shower.
I hope you found these instructions ok for making your own travel wipes and diaper pouch.
Suggestions always welcome!
Linking at these fabulous parties.

Linking up here at
today's creative blog link party,
get your craft on!
