I haven't had a chance to write up a sewing tutorial for a long time, and even though there are probably a thousand different tutes for making a tote bag in crafty cyberland, I decided to throw my own version in anyway.
Blogging this particular tutorial is extra special for me for the following reasons:
- I photographed each step with my new Lumix camera (thanks dad and Karl!)
- I processed the photos myself (with some help from my cleverer half of course!)
- I made this bag using my favourite Kokka ballerina fabric for my friend Kylie who owns her own ballet school. She is super supportive of me and my sewing.
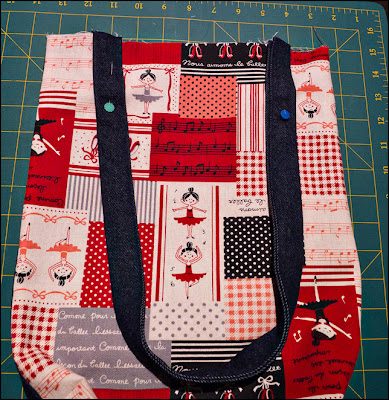
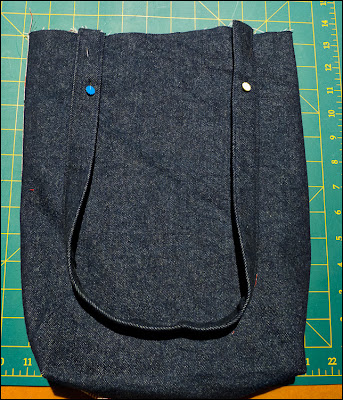
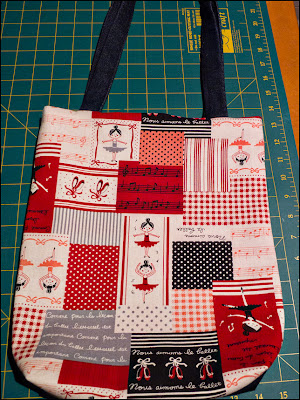
Here is a picture of my finished tote:
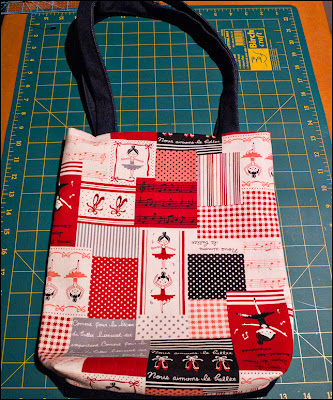 |
| Ballerina fabric tote bag |
Warning: This tutorial has LOTS of photos!
Materials:
Step 1: cut out your fabric
From your main fabric (outer pieces), cut two rectangles, 15 inches long x 12 inches wide (37.5cm x 30 cm).
For my tote, I used one piece of the Kokka Ballerina fabric for the front and a piece of denim for the back.
From your lining fabric, cut two rectangles, 15 inches long x 12 inches wide (37.5cm x 30 cm)
From your outer fabric (I used my denim piece) cut two strips, 26 inches x 5 inches (65cm x 12.5cm) for your handles. (you might like to play around with a length that suits you)
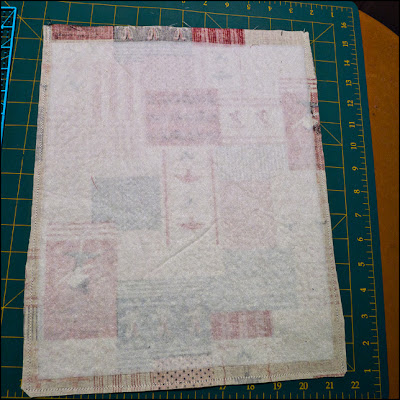
Optional: From your interfacing, cut out two rectangles 13 inches by 10 inches (32.5cm x 25cm). If you're wondering why the interfacing pieces are smaller, it's to avoid having bulk in your seams. ahhhh.....
Iron your interfacing onto your main fabric pieces with a dry iron (no steam) and a damp cloth. Allow to cool before moving.
Here's what you should have:
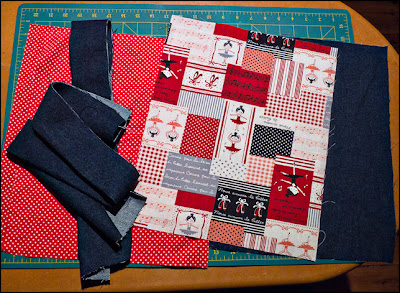 |
| cut out your fabric, iron on interfacing |
Step 2: make your straps
Take your strap piece and fold down the middle length ways. Give it a little press and unfold it again so you can see where the middle sits.
Fold one long edge into the middle and press.
Fold the other long edge into the middle and press.
Fold the whole thing in half, trapping the raw edges inside. Press.
Pin along the long edge and stitch down each long end, close to the edges. (it's hard to see the stitches in this photo.) Repeat with the other strap piece.
Step 3: stitch outer pieces together
Place your two outer pieces right sides together and pin around the two long ends and one short end, leaving the top open.
 |
| pin your main fabric pieces right sides together |
Stitch around the three sides using your usual seam allowance. Press the seam to shrink the stitches and trim the corners and sides. Don't turn it the right side out just yet.
 |
| press and trim seams |
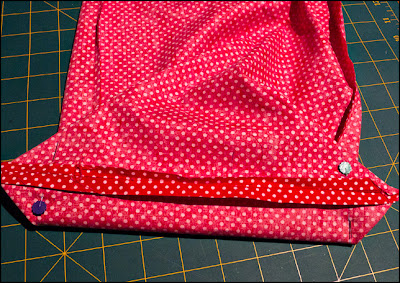
Step 4: stitch lining pieces together
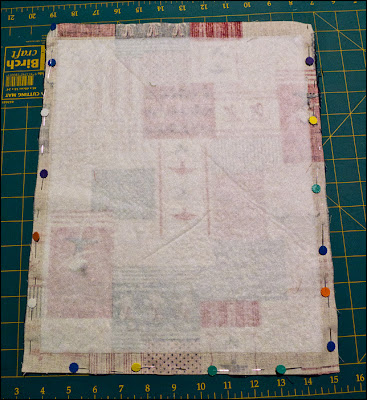
Place your lining pieces right sides together and pin around three sides. Leave a gap at the bottom on the lining pieces so you can turn your bag the right way out later.
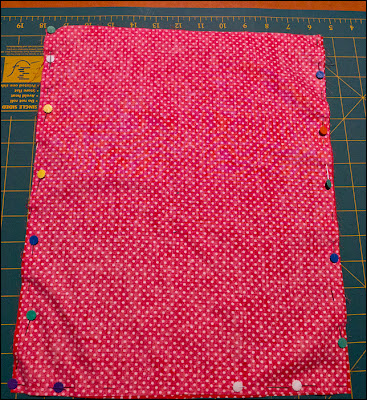 |
| Pin around three sides leaving a gap for turning the bag later |
Stitch around all three sides leaving a gap at the bottom.
Hint: At the start of the gap make sure you back stitch to strengthen it.
Press the seam to shrink the stitches and trim the corners and sides.
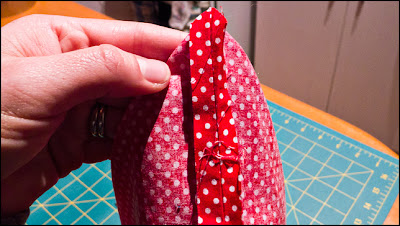
Step 5: box your corners
This step is optional, but it gives your tote a base making it look and sit nicer when it's filled.
Take your outer bag piece (still inside out) and pinch one bottom corner. Use your fingers to line up the bottom seam with the side seam and make a triangle as pictured.
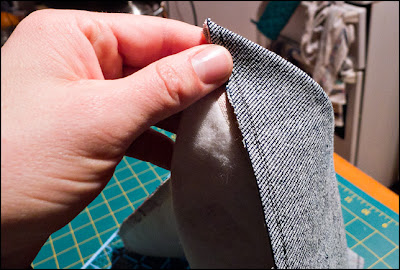 |
| pinch bag corner. |
Lay your bag corner flat on your mat or table and use a ruler to meaure 1.5 inches (about 3.5 cm) from the tip of the triangle.
Draw a line at the base of the triangle using the ruler, 1.5 inches from the tip.
Stitch along the line. I did this twice for strength.
Repeat with the other corner, then trim both triangles to remove the bulk.
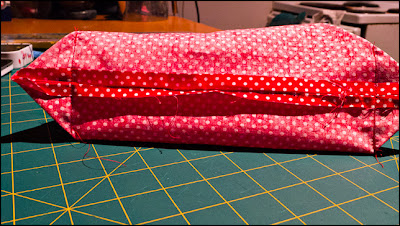
At this point I straightened it out to test the boxy bottom of the bag. Ooooh, worked well this time! (It doesn't always)
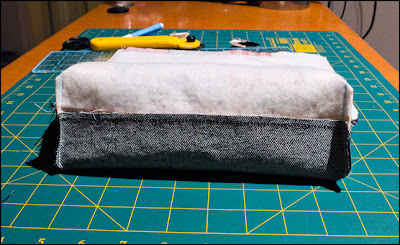 |
| admire your boxed bag bottom |
Repeat this process with your lining piece.
 |
| Pinch corners | | |
 |
| measure and pin |
 |
| stitch your corners then trim the bulk |
Turn both of your bag pieces right side out and press the seams nicely. Take care when pressing the boxed bottom of your bag (I find this part challenging and should probably seek some advice on this).
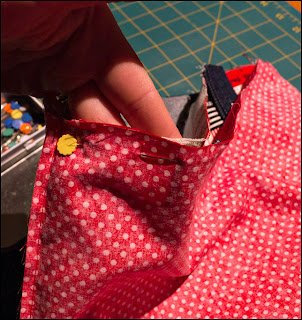
Step 6: Pin on the straps
Take both of your strap pieces and double check they are the same length.
Take one of your strap pieces and work out where you would like your bag handles to go. I measured 2 inches (5cm) in from each of the sides and pinned. Make sure your pins are low (below the seam allowance) so they don't get in the way when you're stitching the top of the bag.
 |
| Pin your strap to the right side of your bag front |
Repeat this process with the other bag handle, lining it up with the one you just pinned. Check the bag loops are even on both sides.
 |
| Pin your strap to the right side of your bag back |
Step 7: Assemble and stitch your bag
Turn your lining piece inside out.
Put your main bag piece inside your lining piece and line up both pieces at the top. You should have the right sides of the main and lining fabrics facing.
 |
| put your outer bag piece inside the lining and line up at the top |
Pin around the top edge carefully.
 |
| Pin the top |
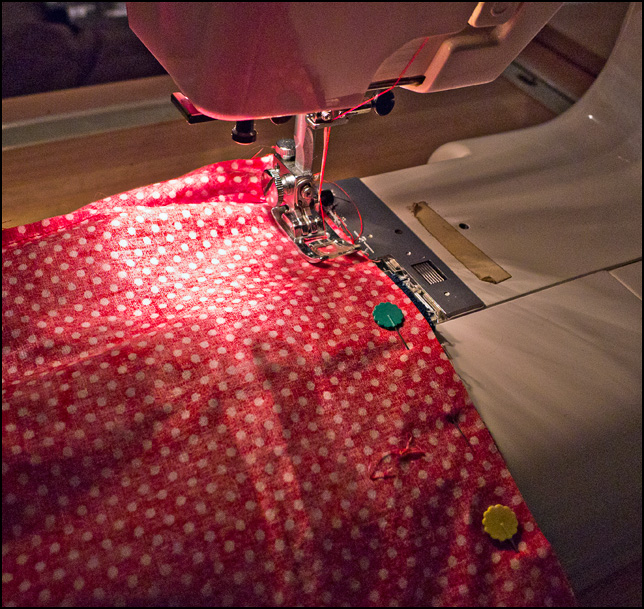
Stitch around the top of the bag twice. I went forward and backward over the straps a couple of times to give it extra strength there.
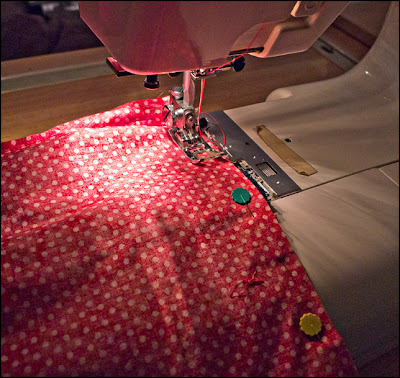 |
| Double stitch around the top |
Trim the excess fabric from the straps and any other loose threads.
 |
| trim |
Find the hole in the bottom of the lining and pull your main bag piece through.
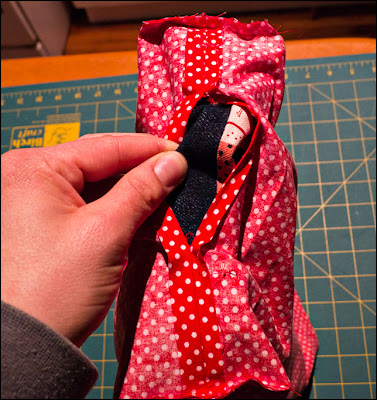 |
| turn your bag the right way out |
Keep pulling!
With your bag completely turned, give it a little press around the top.
Slip stitch closed the hole in the lining and pop it into the main bag piece. Give the whole thing a nice press.
 |
| admire your finished bag. |
Finished!
In the completed picture, the bag looks quite rounded at the bottom. This becomes more square looking when the tote has some things in it. I had some trouble photgraphing it at it's best so I'll have to work on that.
Another option you might like to include is a snap or a loop and button to keep the tote closed.
Here is a close up of the kokka ballerina fabric I used. It's so beautiful and the patchwork quality lends itself well to all kinds of projects. I'm finding it harder and harder to track this fabric down these days!
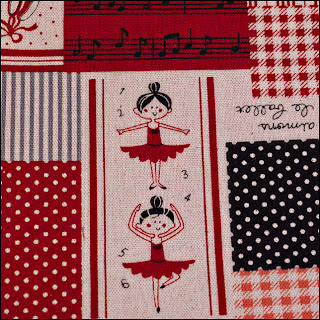 |
| favourite fabric |
Thank you for having a look at my tutorial, I hope you find it useful. It was certainly fun to make and photograph.
xx