Showing posts with label creations. Show all posts

a crafty baby shower- baby bouquets

Over the last couple of months I have been getting some decorations together for my dear friend's baby shower. Since she knows she's having a little boy, I have been making things in blues and yellows. So far, I have made some fabric bunting, a fabric flower corsage for the mum-to-be and lots of little decorations like fabric yo yos and pom poms.

I also discovered those beautiful baby bouquets made from rolled socks, onesies and bibs at another friend's baby shower. My friend's sister-in-law had made two for her following this video on you tube from an episode of Martha Stewart and they just looked gorgeous! They were a little expensive to buy online and it looked easy enough to make so I decided to give it a go.

I went out and bought some singlets, socks, bibs and washcloths along with some floral tape, fake leaves, mini flowers, flower wire, some tissue paper and plastic wrap.

It was a little fiddly to make at first but after awhile it became easier and I just sort of made it up as I went along. I am really happy with how it turned out (if you don't look at it too closely, heh heh) and it sure beats paying $60-$70 for someone else to make it for you.

Here are some pictures of the final result of my baby bouquet:


 I think it's a lovely present that doubles as a table decoration. My friend really liked it so I was happy. 

Have a happy crafty baby shower!

xx

Join  us Saturdays at tatertotsandjello.com for the weekend wrap 
 up           party!


Baby shower present for the mum to be- fabric corsage

In helping to plan a crafty baby shower for my lovely friend, I came across a beautiful fabric flower corsage from Michele from The Scrap Shoppe. I thought it would be such a nice idea to make something special for the mum-to-be as most presents bought for a baby shower go straight to the new bub!

Here is a picture of Michele's beautiful fabric corsage:


I love the colours and the rolled roses and since I am using blues, yellows and whites in the theme I thought I would try to make my own version after being inspired by Michele's version.
Here are some dodgy pictures of the finished product taken with my phone camera (as I am too impatient to wait for my husband to take a good one!)


I am really happy with how it turned out and it was fun to make. I want one for me now too!

To make this fabric flower corsage, I first made a cuff for the base using what looked like doily ribbon, some satin and some felt and closed it with a pretty snap. Then I made some fabric flowers using this fabric flower tutorial for the big blue flower, this fabric flower tutorial for the burnt edged white one and a rolled rose tutorial for the yellow one. Then I just stitched them into place. Done!

I hope she likes her little present. I'll be sure to try and get a picture of her wearing it on the day!

What do you think?

xx

make a paper vinyl wallet

Everyone love Martha, right? Living in Australia, I haven't been lucky enough to grow up with Martha Stewart on tv everyday, but I was lucky enough to discover her website which has lots of clips from previous episodes. She's one clever and crafty lady! I have learned about all things handmade from the craft and sewing tutorials to diy and home projects. Such a great resource!

In one episode I discovered how to make a paper vinyl wallet  by Kristy from Dear Sukie. I fell in love with the idea but you need a non stick foot for your sewing machine to be able to complete the project successfully (which I didn't have....).
I did try to make it with a normal foot and lots of cursing and tantrums ensued so I didn't bother trying again!

Until recently when I read somewhere that you can place strips of painters or masking tape on the bottom of your foot to help it glide over the pvc plastic more easily. It worked!

I immediately downloaded the templates for the pockets and main body piece and followed the instructions in the tutorial linked above. There is also a clip from the episode you can watch which helps as the instructions can seem a little confusing.

Here are some pictures of the paper vinyl wallet I made as a gift for my friend Liz who loves owls. I hope she likes it.

owl paper vinyl wallet
paper vinyl wallet
paper vinyl wallet inside view

It was fun to make after a couple of false starts. I'd definitely try it again sometime.

What do you think?

Feedback always welcome!

xx

Cute elephant fabric pencil case

At the moment I'm in a phase where my sewing can't keep up with my fabric purchases. I regularly have to ban myself from buying more fabric so I can focus on creating with what I have.


This rule went out the window recently when I came across a gorgeous pink and white elephant fabric that I couldn't resist, but I decided if I was going to buy it I would have to sew something up immediately to make up for being naughty. :)


So here is a little flat bottom pencil case I made using the sweet elephant fabric. I love it and think it will be a good addition to my future market stall, whenever that happens!


flat bottom pencil case
 For this pencil case, I decided to create some fabric zipper ends using a technique I learned from Keyka Lou's patterns. They give the zipper ends a neat and professional look which I like. There is a make up purse tutorial from Flossie Teacakes which also explains how to use fabric zipper ends if you'd like to have a go too.

To make it stand up on its own I boxed the corners. This is a handy trick you can use to give your purses, pencil cases and totes some body and structure. It's worth the effort to use them, even though it's time consuming and a bit of a pain to get them even. You can have a look at this tutorial from craft apple on making proper boxed corners with a ruler. Oooh, preciseness.... :)


Here is a picture of my elephants in their 'natural' habitat.... a grassy patch at the side of our apartment block. hee hee. 


Who doesn't love elephants?


xx

Crafty birthday presents

Lately I have spent more time making things for people for their birthdays than trawling the shops to find something. Luckily, I have lovely and encouraging friends and family members who graciously accept whatever dodgy experimental crafty piece I have made them.

This week it's one of my oldest friend Mandy's 30th birthdays and I wanted to make her a couple of different things using one of my favourite fabric lines, 'it's a hoot' by MoMo for Moda fabrics. it's bright and a bit retro looking and uses lots of pink which is my friend's favourite colour. I went for a cute little tote bag and a fabric covered canvas.

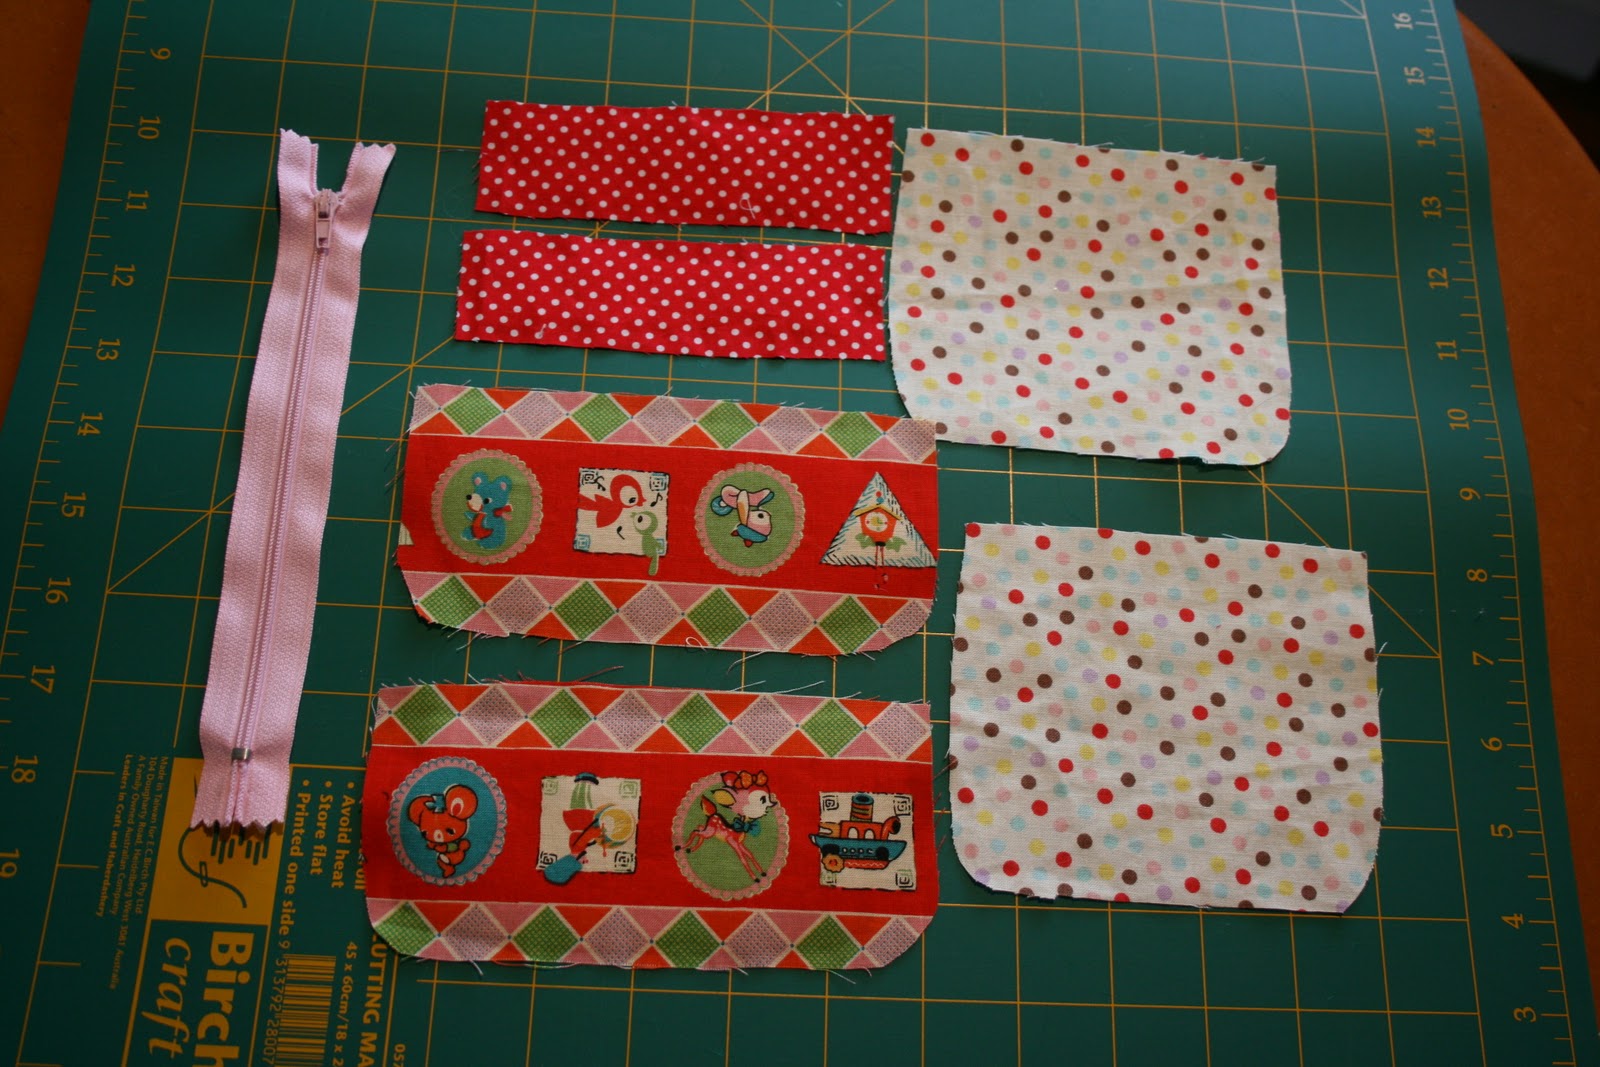
Here is the tote bag I made using one fat quarter piece:

Mandy is a Kindergarten teacher and I thought she might use it to take a few books or bits and pieces to school with her. The girls in her class would probably like the colours and print with the pretty birds etc. Since i only had one fat quarter I backed it with denim and lined it with some pink cotton.
I used interfacing and some fusible fleece to give it some body and I boxed the corners to give it a little base. To finish, I added straps, a loop and a fabric covered button for the clasp. I filled the bag with some goodies I thought Mandy would like- chocolates, hand cream and a beautiful smelling candle.

Next task was to make fabric canvas wall art using some heavier fabric from the 'it's a hoot' range. Here's how it turned out:


I love love LOVE the owl and all the cool retro trees. I'm definitely making one of these for myself one day soon!
If you want to make your own fabric canvas art, it's pretty straight forward. I looked at tutorials online but worked it our fairly easily myself.

Materials:
  • fabric
  • a canvas stretched over wooden frame
  • staple gun
  • scissors or a rotary cutter

iron your fabric and position your canvas face down over the area you would like featured in your wall hanging. Cut out the fabric generously so you can staple it easily to the frame.


Starting on one long end, staple the fabric to the canvas. repeat on the opposite side, gently stretching the fabric across so it is nice and smooth.

Staple the shorter ends, folding up the corners similar to how you would wrap a present. (You can probably find a tutorial for doing this part perfectly but I'm impatient and just had a go at it).

To make it look a bit neater at the back, I used double sided tape to stick the raw edges to the canvas frame. If you were making them to sell, you would probably need to either work out how to do it perfectly neatly, or cover the back with cardboard (which I have seen and looks good).

To hang on the wall you can use a picture hook, or put small nails on either side and attach some string or thin wire. 


Too easy! this is a great way to display your favourite fabrics, and if you're making one for a friend, you can customise it to suit their taste or the colour scheme in their house.

Happy crafting times!

embroidery hoop wall art- tutorial

 I love the idea of displaying your favourite pieces of fabric in your home as cushion covers, curtains and as wall art. A simple (and inexpensive) way of doing this is by using wooden embroidery hoops. These can be found in places like Spotlight and Lincraft, but more cheaply on Ebay.

Here is an example of embroidery hoop wall art I found over at ohdeedoh.  I love the quirky combination of fabrics and the way they frame the mirror.  


After being inspired, I decided to try and make my own embroidery hoop wall art as a gift for a friend's birthday and thought a little tutorial might help to illustrate just how easy it is.

Materials:
  1. embroidery hoop, any size you like 
  2. cute fabric
  3. fabric fray stop (optional)
First, take the inside ring of your embroidery hoop and place it over the area you would like to feature in your frame.

Cut around it generously. I used a rotary cutter and left about 1 inch. this enables you to stretch it more easily and get it into the exact position you want.


place inside ring on fabric, cut around it generously
 
Put the fabric over the inside ring and pop the outside hoop on top. Position the fabric and tighten the knob until the fabric is taut between the two rings. You will probably need to pull it at various points around the ring to smooth out some of the 'bubbles' that appear.


 stretch the fabric taught with your fingers
 
When you're happy with it, trim the excess fabric from the ring close to the hoop edge. At this point, I also ran some fabric fray stop over the fabric edge, but I guess you could also use some thin tape to cover it up.


trim fabric close to the edge

Attach a piece of ribbon or twine at the top for hanging and you're done!
 You can customise them for anyone's taste which is nice. My friend likes all things cute and Japanese. I hope she likes them!


embroidery hoop wall art ready to hang!
I am looking forward to making some for myself! Happy crafting! x


Transformation Thursday

ruffled singlet experiment

I am a big fan of girly ruffles. They look cute on tops, layered in skirts and they never seem to go out of fashion. I  like that ruffles can be worn casually with a cropped little cardi or dressed up with some cute pearls and a hair flower. I hope they never go out of vogue!

Recently I stumbled across Ruffles and Stuff and was inspired by Disney's way of re-fashioning clothes and jewellery using ruffles, pearls and all things girly. She has put up some lovely tutorials for a variety of projects, but I decided to test my sewing skills and try to make a ruffled embellishment for one of my plain and boring singlets without help.

Here are the results:


I am happy with how it turned out, even though I ran into some issues. I forgot the cardinal rule of ruffling- make sure you have enough length as the fabric will bunch up when it's gathered. Duh.
Anyway, I managed to fix it and get it to a state where I would be happy to wear it.

The middle piece is a fabric I adore and have been sitting on for 6 months trying to work out how I can use it. I found the lovely lace at Spotlight and I like the way it ties it together.

Next time, I'll make longer ruffles with lots of gathers so they pop out. I'll also experiment with different trims like ribbon and buttons to see what other looks I can create.

Stay tuned for a tutorial on how to add a cute little ruffle to your own boring singlet.

Yay for ruffles!

tutorial: mini coin purse

Yesterday I was feeling bored so I decided to have a go of making a mini coin purse. I love little pleats in things, so I based the pattern of the coin purse on this pleated pouch from skip to my lou.


I have lots of small bits of favourite fabric lying around (some call it hoarding...) so these coin purses are a way I can use them up. They also make cute little gifts.


I made my own pattern for this so naturally I was quite surprised when it turned out ok! This is quite a long tutorial with lots of pictures, as these were the kind that really helped me when I was learning. Any feedback on the instructions are welcome! 


Here is a pic of the finished purse.


Materials needed:
- feature fabric
- purse top fabric
- lining fabric
- iron on interfacing (optional, depending on fabric thickness)
- zipper (any length, you'll be cutting it anyway)
- paper, pencil and ruler
- pins, machine, coordinating thread.


Seam allowance: about 1cm (about 2/5ths ") I just use the edge of my foot most of the time. I don't think it makes a huge difference in this project.


Step 1: make your pattern (super easy)
For the top of the purse, draw a rectangle 3.5cm (1.5") by 12.5cm (5")
For the purse body, draw a rectangle 7.5cm (3") by 15cm (6"). Round off the bottom corners with a gentle curve.
for the purse lining, draw a squarish shape, 10cm (4") by 12.5cm (5")
Your pattern should look like this (minus the shadow of my cat Claude's face) Apologies for the dodgy picture!
make your pattern
Step 2: cut out your fabric
Pin your pattern pieces to your chosen fabrics and cut out two of each for the front and back of the purse. I find it easiest to fold the fabric in half with right sides together and cut the two pieces out at once using a rotary cutter. it means that the two pieces should match up properly when you're sewing them together later.


cut fabric & zipper


step 3: add interfacing (optional)
At this point, I used some iron on interfacing on the purse top and body to give my purse some extra stability. These fabrics are fairly light cotton and can be a bit floppy, but if you're using heavier fabric like linen or denim you might not need it. I make the interfacing pieces smaller than the fabric pieces so it doesn't add bulk to your seams.
add interfacing if necessary
step 4: make pleats
Take your purse body pieces and some pins. You'll notice the purse body is a little longer in length than the purse top. This is to allow for the folds you make in the fabric to create the cute little pleats. After you've made your pleats, these pieces should be the same in length, so keep the pleats pretty small.
To make a pleat, you basically fold the fabric on itself and pin it in place wherever you want to pleat to sit.  I have 3 pleats in my purse, all going in the same direction. Experiment with it until you're happy.
Repeat with the other piece.


make 3 pleats, pin in place
Important: After making and pinning your pleats, grab one of your purse top pieces and check that its length is the same as the length of the purse body. the purse body will have a little curve in it due to the pleats, but you can stretch it a little to line it up. 


To hold the pleats in place, give them a little press with your iron and stitch across the top, using a small seam allowance so you don't see the stitches later on. Press again.


stitch across the top of the pleats to hold in place
Step 5: attach purse body to top
Pin the purse top to the purse body and stitch in place. Press flat.


Step 6: attach fabric to the zipper
Cut your zipper to a length a little longer than the length of the purse lining. Cut it from the end with the zipper pull, but be careful not to let the zipper pull come off the end as it's a pain to get back on. (Yes, it came off during this project and I had to pry off the metal thing at the bottom to get it back on again) It would be sensible to put a pin in the end to make sure it doesn't happen. Feel free to learn from my stupidity. :)


Lay one of your lining pieces face up on the table. Lay the zipper on top, also right side up. the zipper ends should hang over each end of the fabric as pictured below. Don't pin yet.


Lay one of your body pieces face down on top of the zipper and lining piece.


 Line up the fabric and zipper tab carefully at the top and pin into place along the length. Don't worry if the curved bottom edges of the body and lining don't match up as you won't be sewing these bits together anyway.
In the picture below, I have pulled back the main body pieces so you can see the zipper sandwiched between the lining and the body.


zipper sandwiched between lining and body fabric
Using the zipper foot on your machine, carefully stitch along the length. You don't have to sew super close to the zipper teeth for this project as the zip sits on top of the purse. Also, I find if I sew too close then the zip gets caught in the lining all the time which makes it a pain to use.


Tip: This has made sewing zippers heaps easier for me: Start at the end of the zip with the metal closure and the zip pulled up completely. When you have sewn about 3/4 of the distance, stop with the needle in the fabric, lift the zipper foot off the fabric (the needle will hold it in place) find the zipper pull and carefully slide it up to the other end. this allows you to do the other end of the zipper easily without the pesky pull being in the way. Genius.
After sewing, press the fabric so it sits flat against the zipper. You can top stitch too if you like. In this picture, i haven't pressed it or top stitched it which is why it looks a bit dodgy.


Repeat this whole process again with the other lining piece and body piece:
Lay the lining piece face up, put the zipper on top, right side up. Line it up properly. This pic is just to highlight what it would look like underneath.


 Lay the other body piece on top, pin into place. Both of your outer body pieces should be right sides together as you can see below.


At this stage, I find it easier to open the zipper so the pull is at the opposite end to where you start sewing. you can then use the same tip above to sew the two fabric pieces to this side of the zipper tab.


Here's what you'll have.

outside pieces

lining pieces
Step 7: sew it together
Yay! We're almost there! The scary zipper part is over. woo!


Important: before pinning, pull the zipper across halfway or you won't be able to turn it out the right way. 


So now we need to sew the two body pieces and the two lining pieces together.  
Pin the two body pieces right sides together.
Pin the two lining pieces right sides together, leaving a gap of about 4 or 5 cm (2") in the bottom so we can pull it through the right way later.
In the picture below, the gap is marked with a bobby pin.
In this picture you can see the zipper ends poking out of each end. When you put the lining and body pieces together, the zipper will need to be adjusted so the tabs are sitting flat on top of each other, facing the same direction (if that makes sense). I find it makes it easier to sew them down and looks neater when you turn it the right way.


pin around the whole thing leaving a gap in the lining to pull it all through
 Sew around the perimeter of the purse. choose a method below-


A (easiest)
Starting next to the gap you have left in the lining, stitch all the way around the perimeter of the purse, carefully going over the zipper ends, and stopping at the gap in the lining at the other end.


B (still easy but probably not explained very well...)
First I sew around the body. Starting in the middle of the bottom, i work my way around to one of the zipper ends. I go over the zipper and stop just beyond it on the lining side. Then, I flip the purse over and repeat on the other side of the body piece.
- Repeat this process on the lining side, extending the stitches to just beyond the zipper tab on the body piece. this way, you have sewn over the zipper end twice which makes it stronger.
Method B also allows you to change thread colour more easily as there is a gap in your sewing when you change sides, but either method would work well.


Note: Take care when you go over the zipper end with the metal fastener. it will be close to the seam allowance so take care you don't hit it with your machine needle.


sew around the perimeter of the purse
Trim the excess zipper and clip your curves so they sit nicely when pulled through the right way.
Now this is the fun part. Put your hand (or fingers if you made the gap too small eep!) into the gap in the lining and pull the body of the purse through the opening.


 Keep pulling until it's right side out.


Use a chopstick to poke out the corners of the zip and the curves of the purse body and lining.
Slipstich closed the gap in the lining and press the whole thing flat.


Hooray! You've made a cute little purse for your coins, lip gloss, minties, Chiuaua..... maybe not. 


front


back
I hope you found this tutorial helpful and fun. I'd be happy for some feedback if you think it needs some work.


Now go and make one for your favourite friend! Yay!


X


Photobucket


Related Posts Plugin for WordPress, Blogger...